Hercules P32 DJ VDMX Template


To keep up with the times, we are releasing another VDMX template for the Hercules P32 DJ MIDI controller.

With it’s 32 pads, 19 knobs and three sliders, the P32 DJ is a jam packed MIDI controller for its size. A littler smaller than a 16” MacBook Pro, the P32 has soft pads with a higher quality feel than some entry level MIDI controllers.

For this template, the native 2 channel DJ style layout, is perfect for a VDMX 2-channel video mixer layout.

Additionally, the P32 DJ has a built in audio interface that supports stereo RCA out, and 1/4” TRS port for headphone monitoring, allowing you to DJ and VJ from the same device.

To install templates in VDMX go to: ‘Your Drive’ > Users > ‘username’ > Library > Application Support > VDMX > templates

Download here: Template File

We’ve included templates, project files, and reference images. You will need an active VDMX license to open the project files.

More about the template:

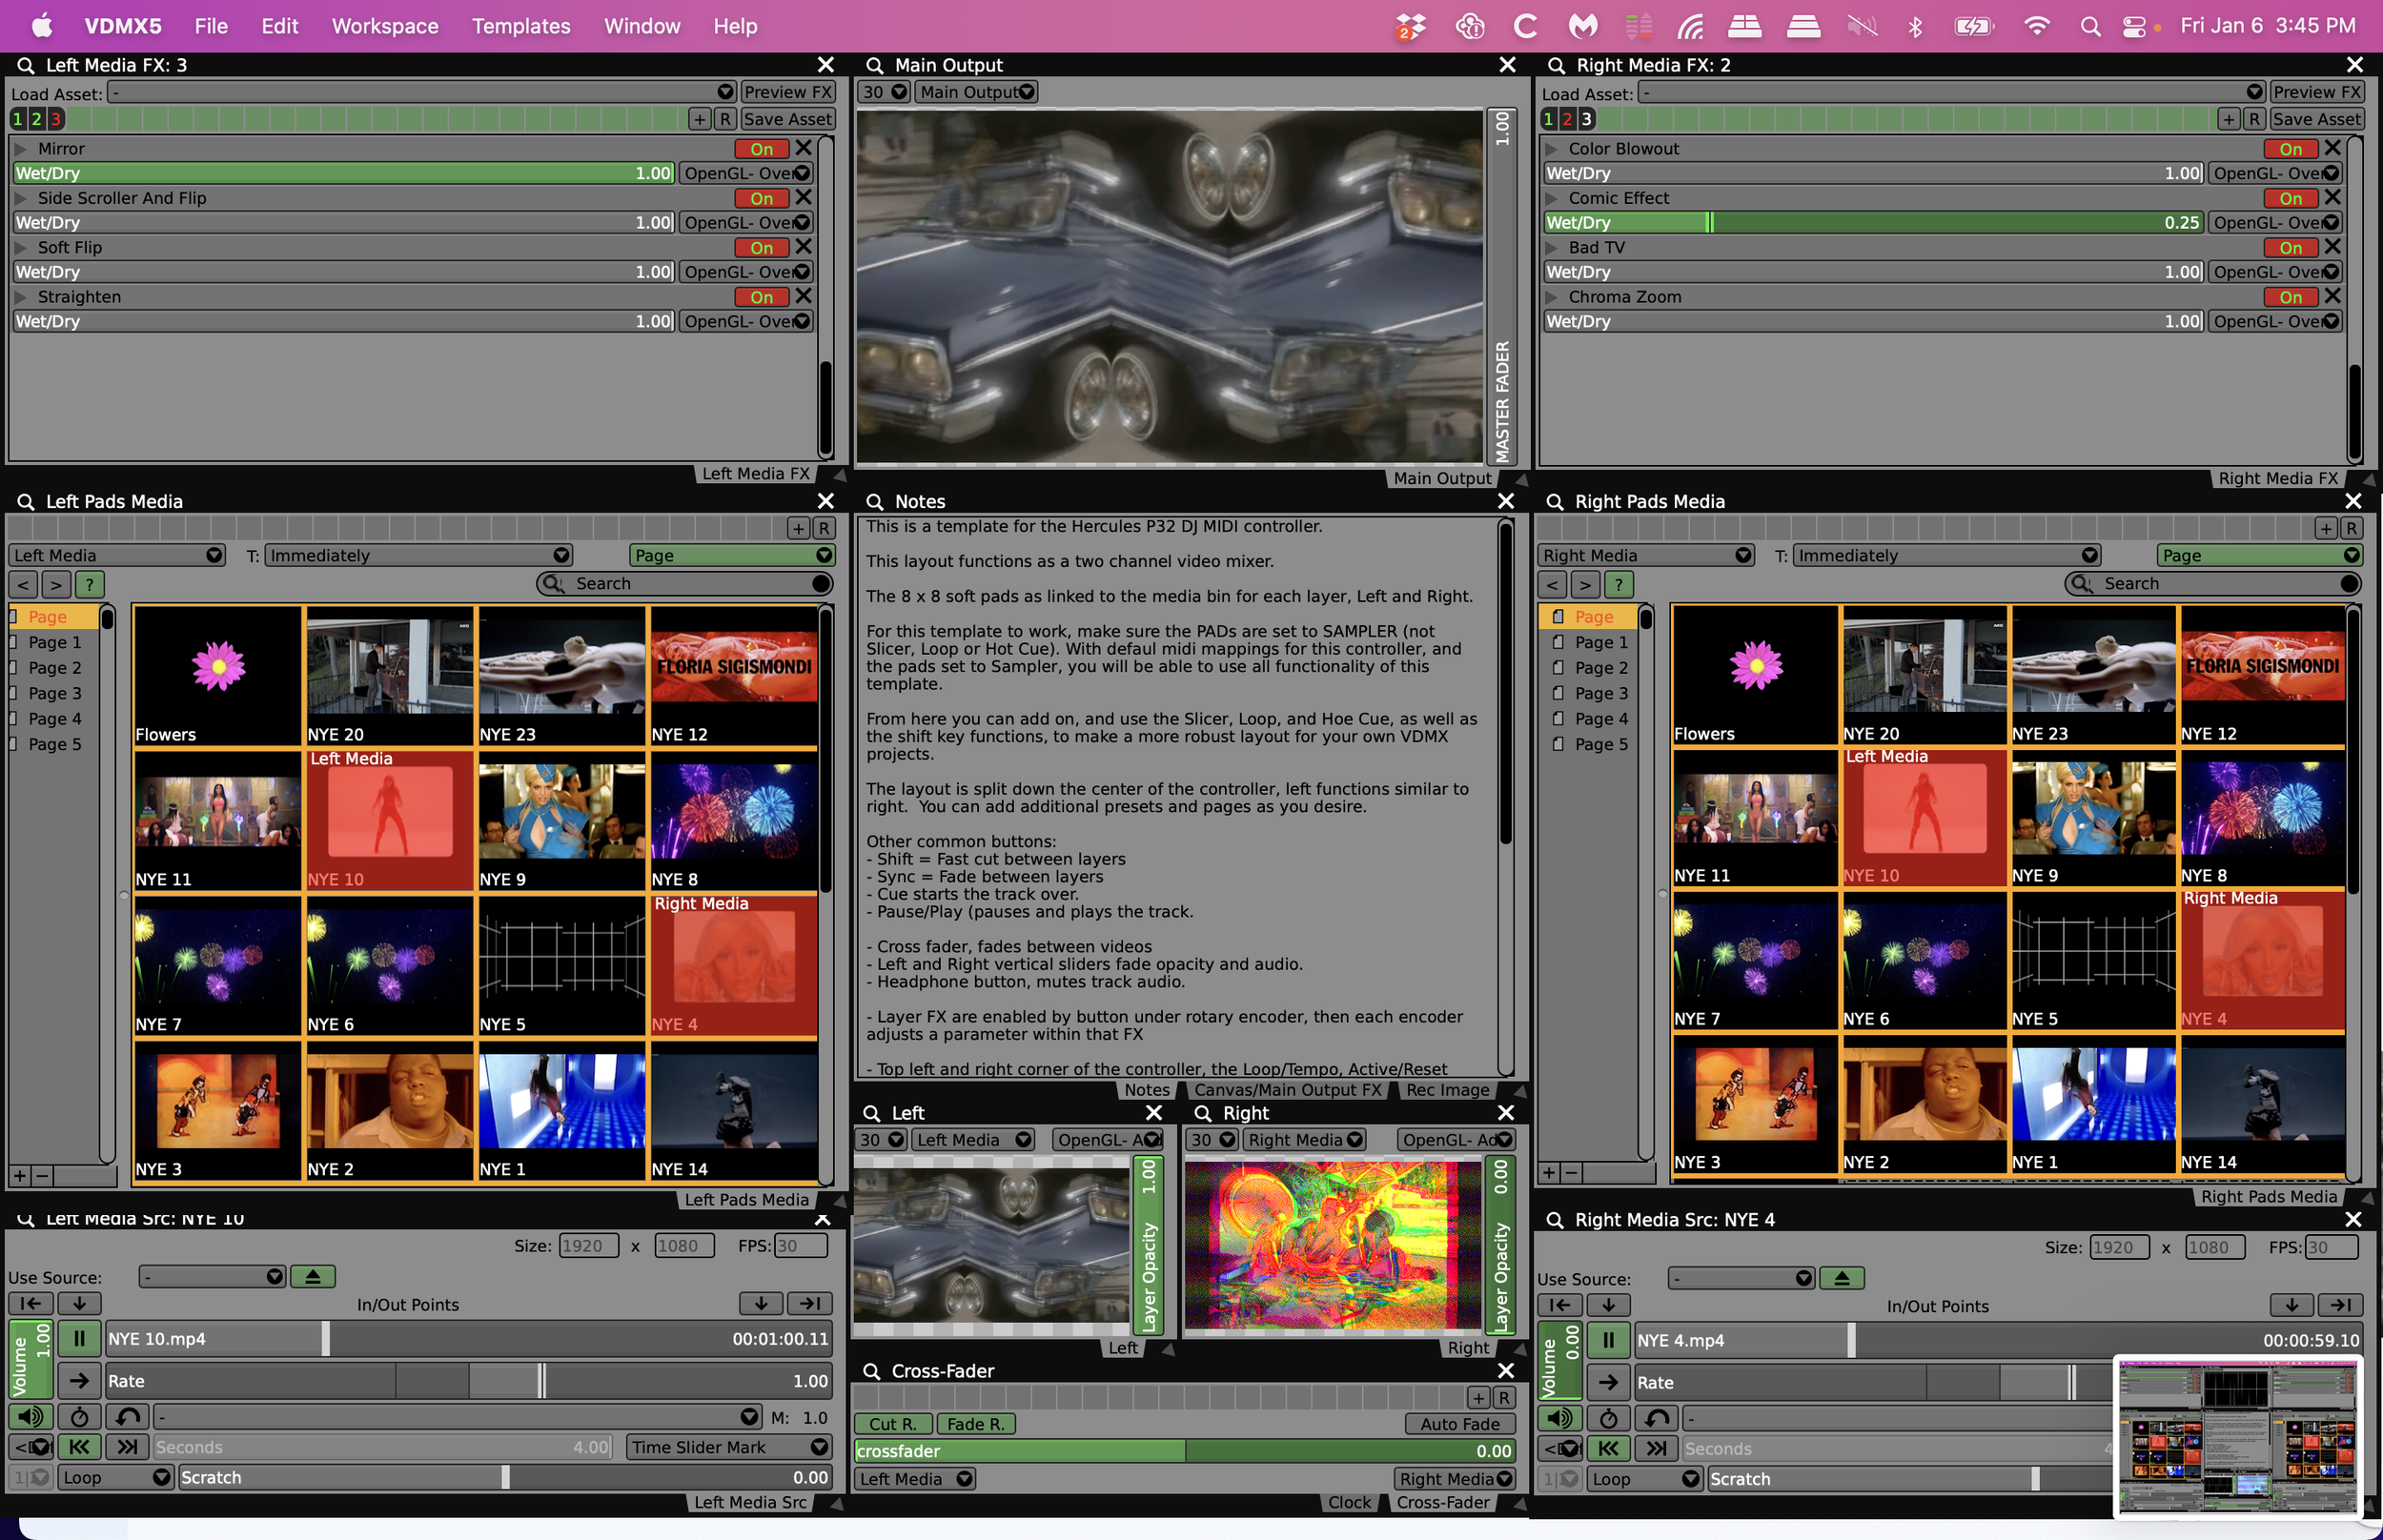
This is a template for the Hercules P32 DJ MIDI controller.

This layout functions as a two channel video mixer.

The 8 x 8 soft pads as linked to the media bin for each layer, Left and Right.

For this template to work, make sure the PADs are set to SAMPLER (not Slicer, Loop or Hot Cue). With defaul midi mappings for this controller, and the pads set to Sampler, you will be able to use all functionality of this template.

From here you can add on, and use the Slicer, Loop, and Hoe Cue, as well as the shift key functions, to make a more robust layout for your own VDMX projects.

The layout is split down the center of the controller, left functions similar to right.  You can add additional presets and pages as you desire.

Other common buttons:

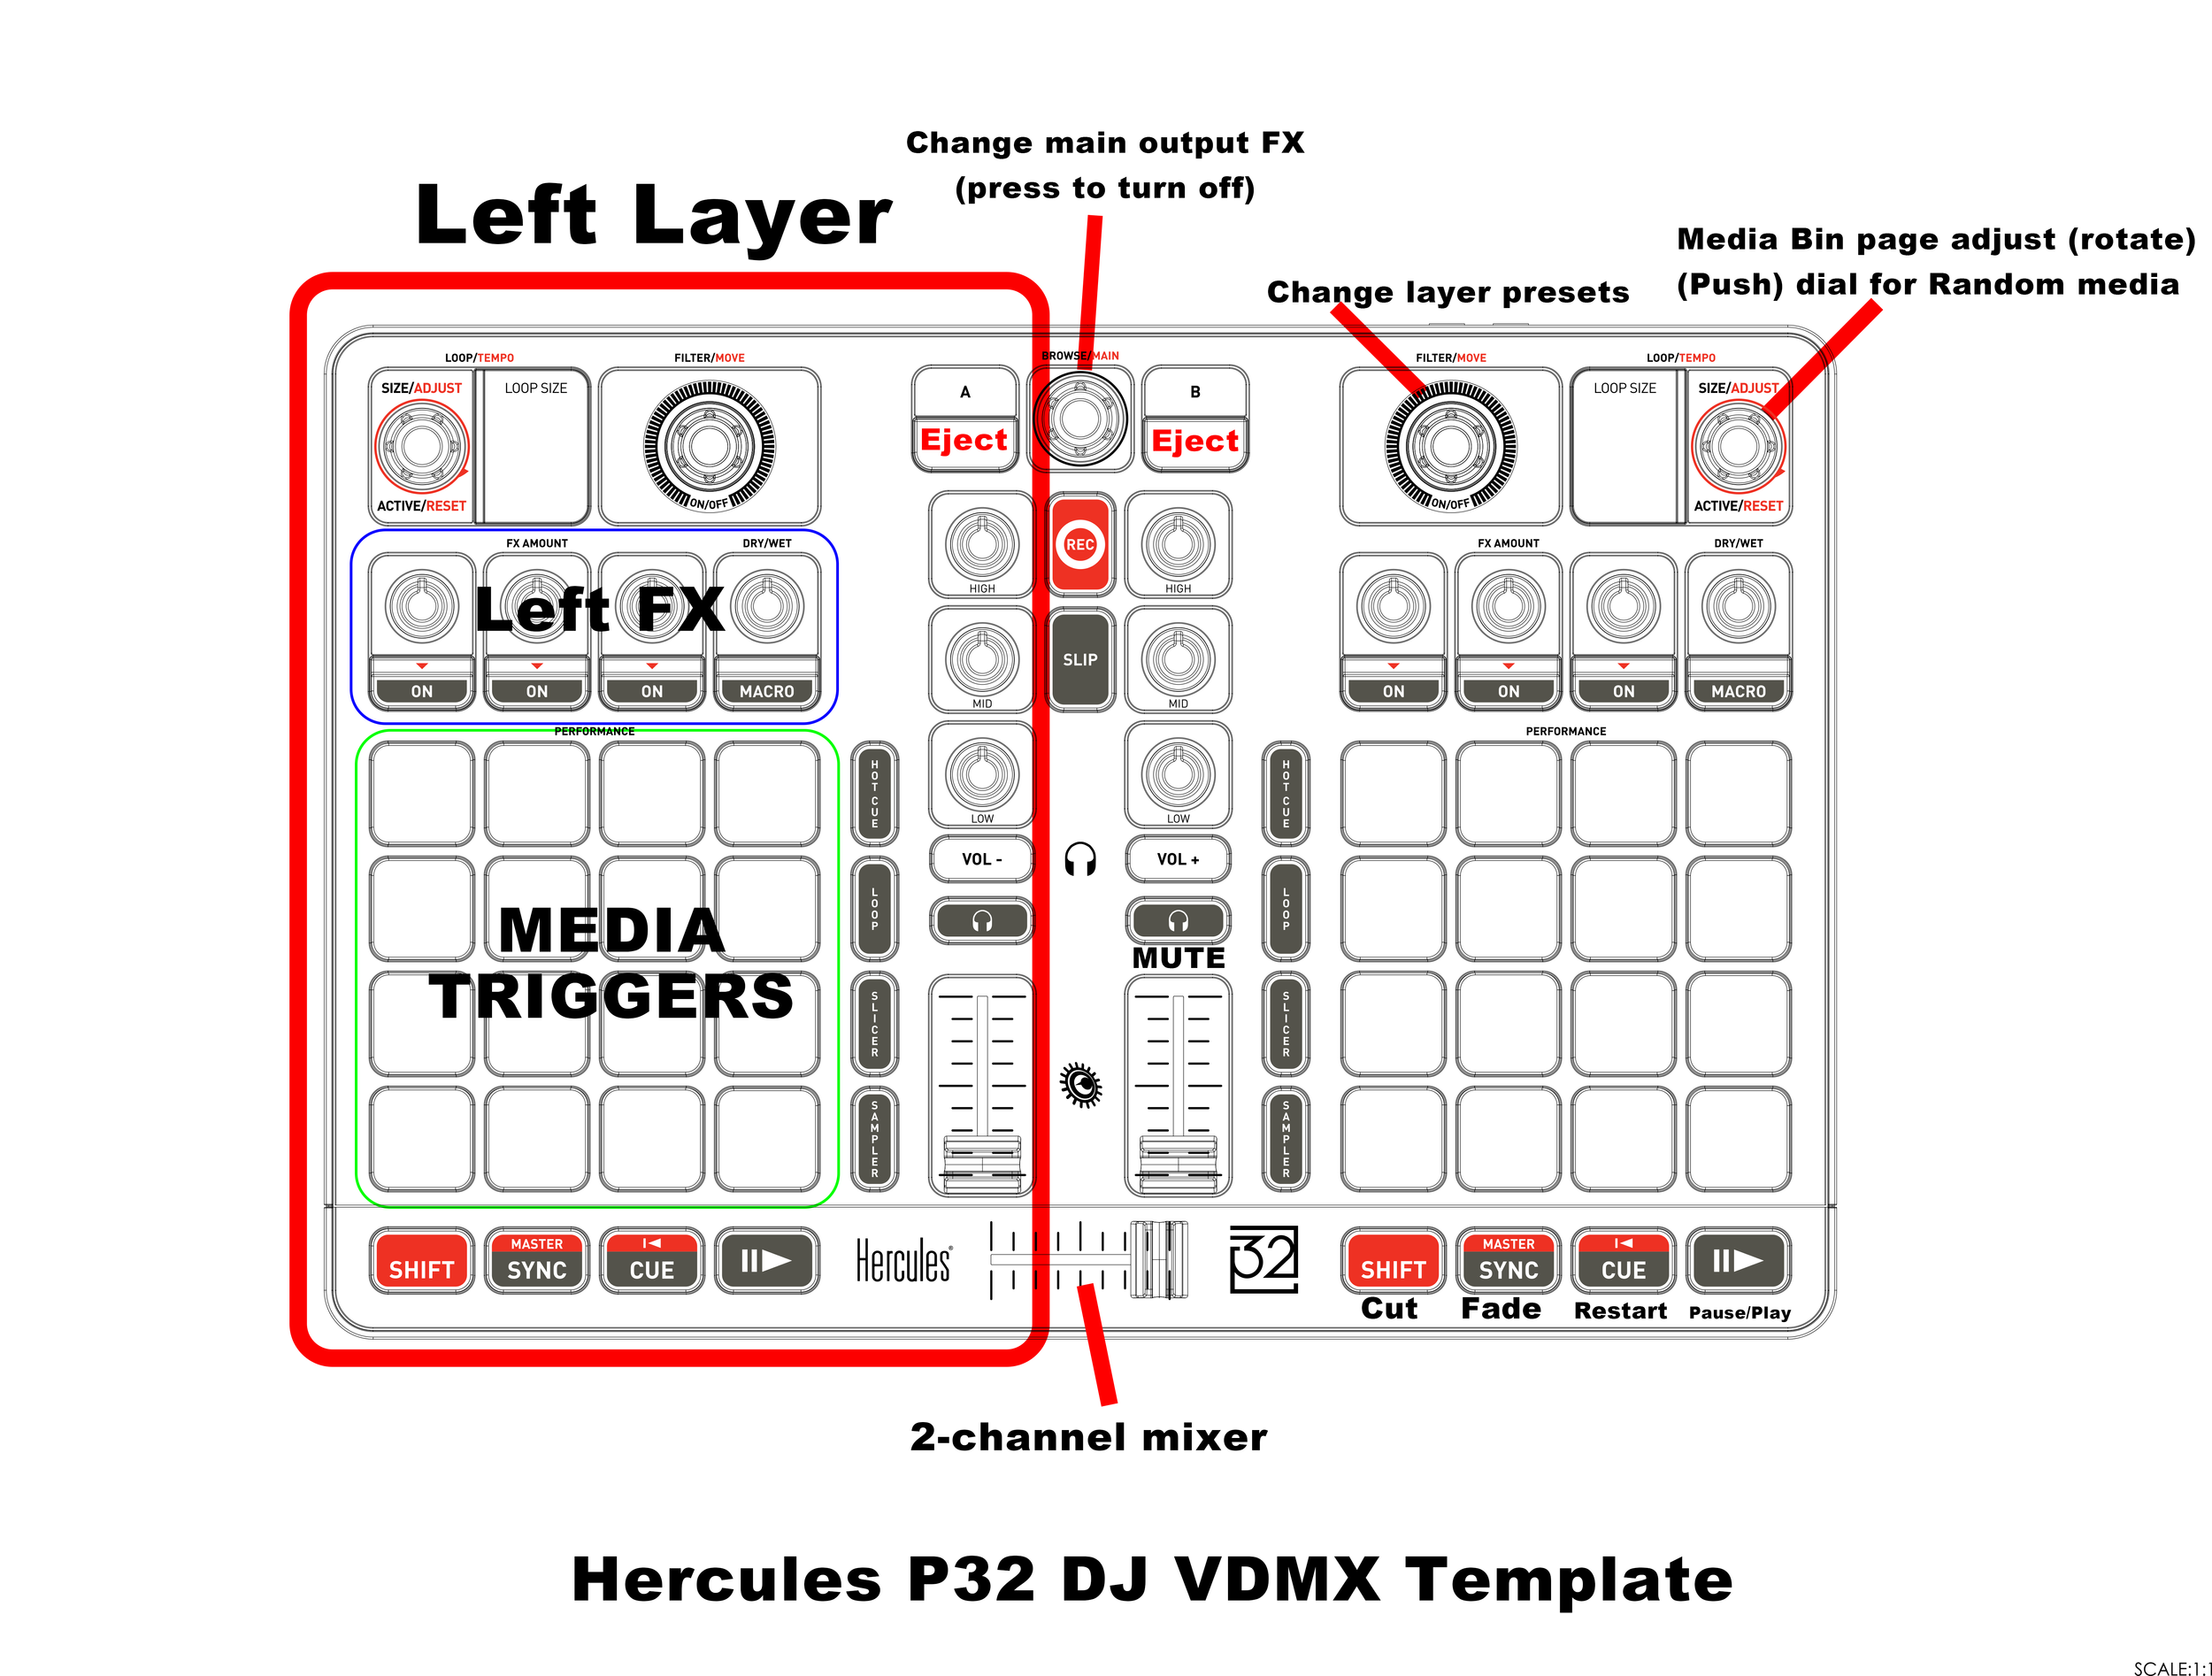
- Shift = Fast cut between layers

- Sync = Fade between layers

- Cue starts the track over.

- Pause/Play (pauses and plays the track.

- Cross fader, fades between videos

- Left and Right vertical sliders fade opacity and audio.

- Headphone button, mutes track audio.

- Layer FX are enabled by button under rotary encoder, then each encoder adjusts a parameter within that FX

- Top left and right corner of the controller, the Loop/Tempo, Active/Reset buttons scroll through the media bin pages.  Pressing down on this endless rotary encoder will trigger a random video from the media bin.

- To the left and right, the Filter/Move endless rotary encoder will scroll through FX presets for each layer. Be aware, that this will reset the FX each time you move to the next preset.  Pressing down on this knob will jump to an empty FX off preset.

- Record button starts recording a video of the master output.

- Slip button captures an image of the master output.

-Load A and B eject the media on each side.

- Browse/Main endless rotary encoder switches between main output FX presets.  Pressing down resets to an empty preset.

-High, Mid, Low rotary encoders are currently not mapped to any MIDI controls, but could be mapped to main output FX or an action of your choice.

Akai APC40 MK II 2-Channel VJ Mixer template for VDMX

Templates are a great way to get started with VDMX and with this template you can take an out of the box APC40 MKII and jump right in!

VDMX APC40 MK II Layout Template

A few things to note about the APC40 MK II before we get started.

The APC40 MK II has three internal MIDI mapping modes.

  • Generic Mode (Default)

  • Ableton Live Mode

  • Alternate Ableton Live Mode

To use this template correctly, you’ll need your APC40 MK II to be set to the default “stock” Generic Mode. More information about these modes can be found here (PDF) Bottom of Page 10.

APC40_MK_Neil_LayerChange.png

When you first turn on the controller, it will default to the correct button mapping. To reset the template to all defaults, it is recommended that you hit this button when you start the template to eject all clips and set everything to its default.

This button ejects all media, clears all the FX and syncs the LFO view to the LFO slider. (Warning: You’ll lose FX in Layer A and B if you don’t save them as a new FX chain).

This button ejects all media, clears all the FX and syncs the LFO view to the LFO slider. (Warning: You’ll lose FX in Layer A and B if you don’t save them as a new FX chain).

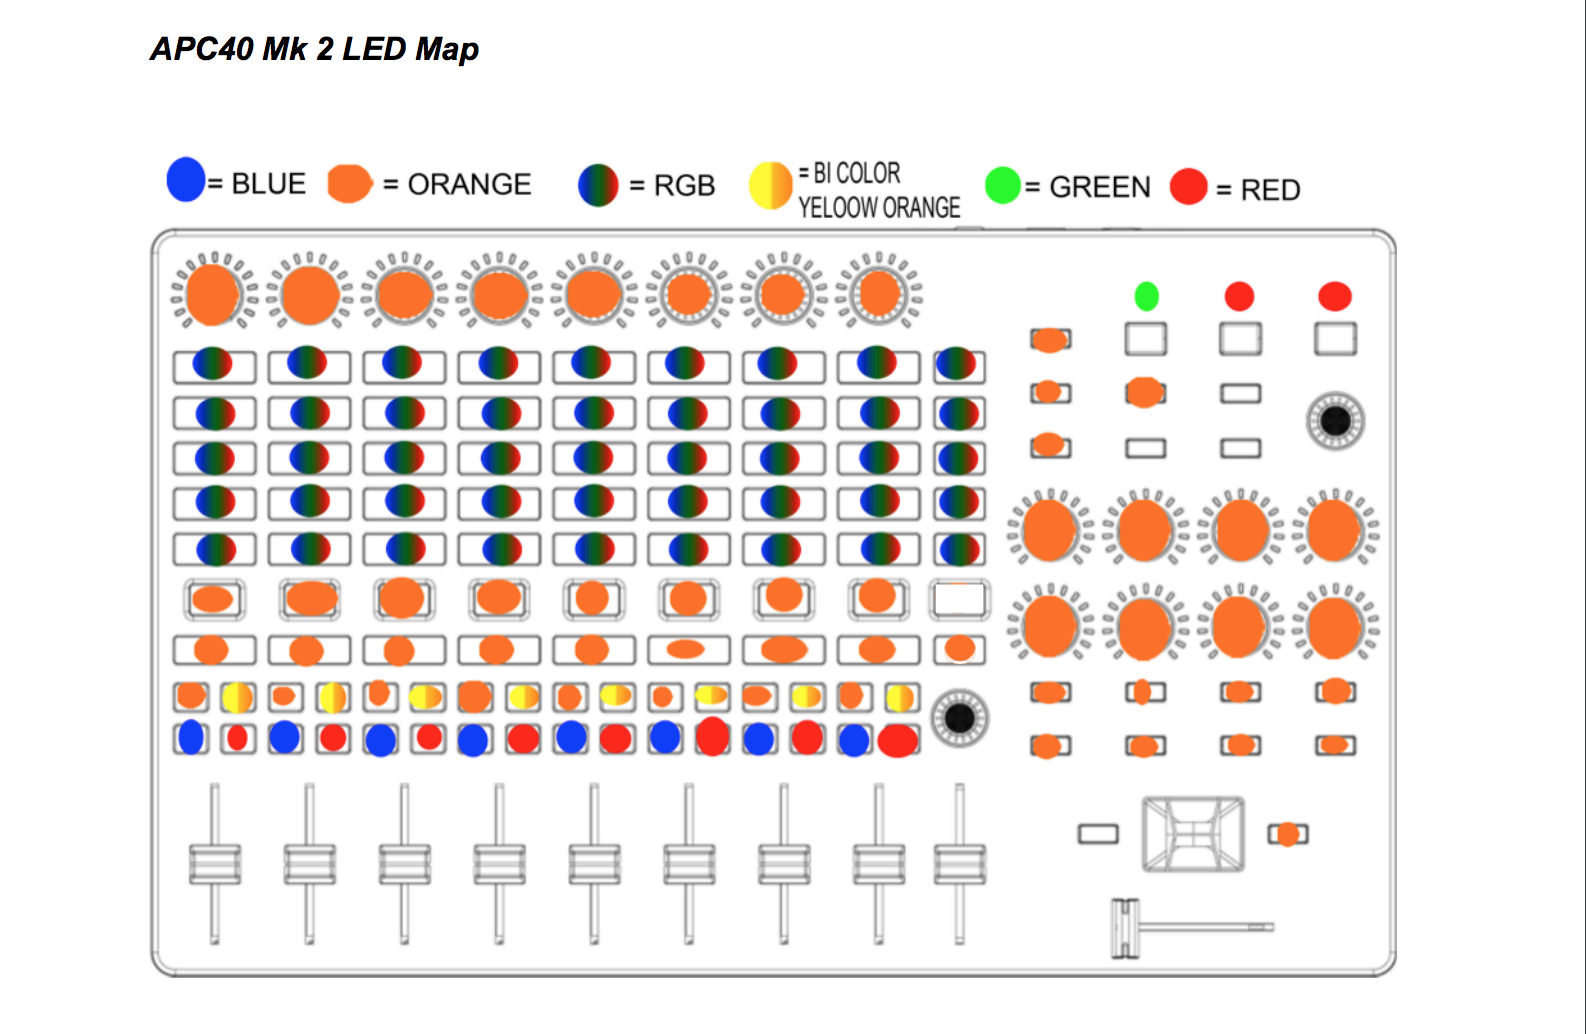
Not all buttons are RGB. When clips are ready to be triggered in your media bin, the 40 RGB button grid will light up blue, then yellow when the clip is selected. You can customize these colors yourself in the media bin options:

Screen Shot 2021-09-23 at 10.28.39 AM.png
Image found on page 10, Akai communication protocol manual.

Image found on page 10, Akai communication protocol manual.

There are two versions of this template. A blank version without FX and a starter version with one layer of FX presets.

Default setup.

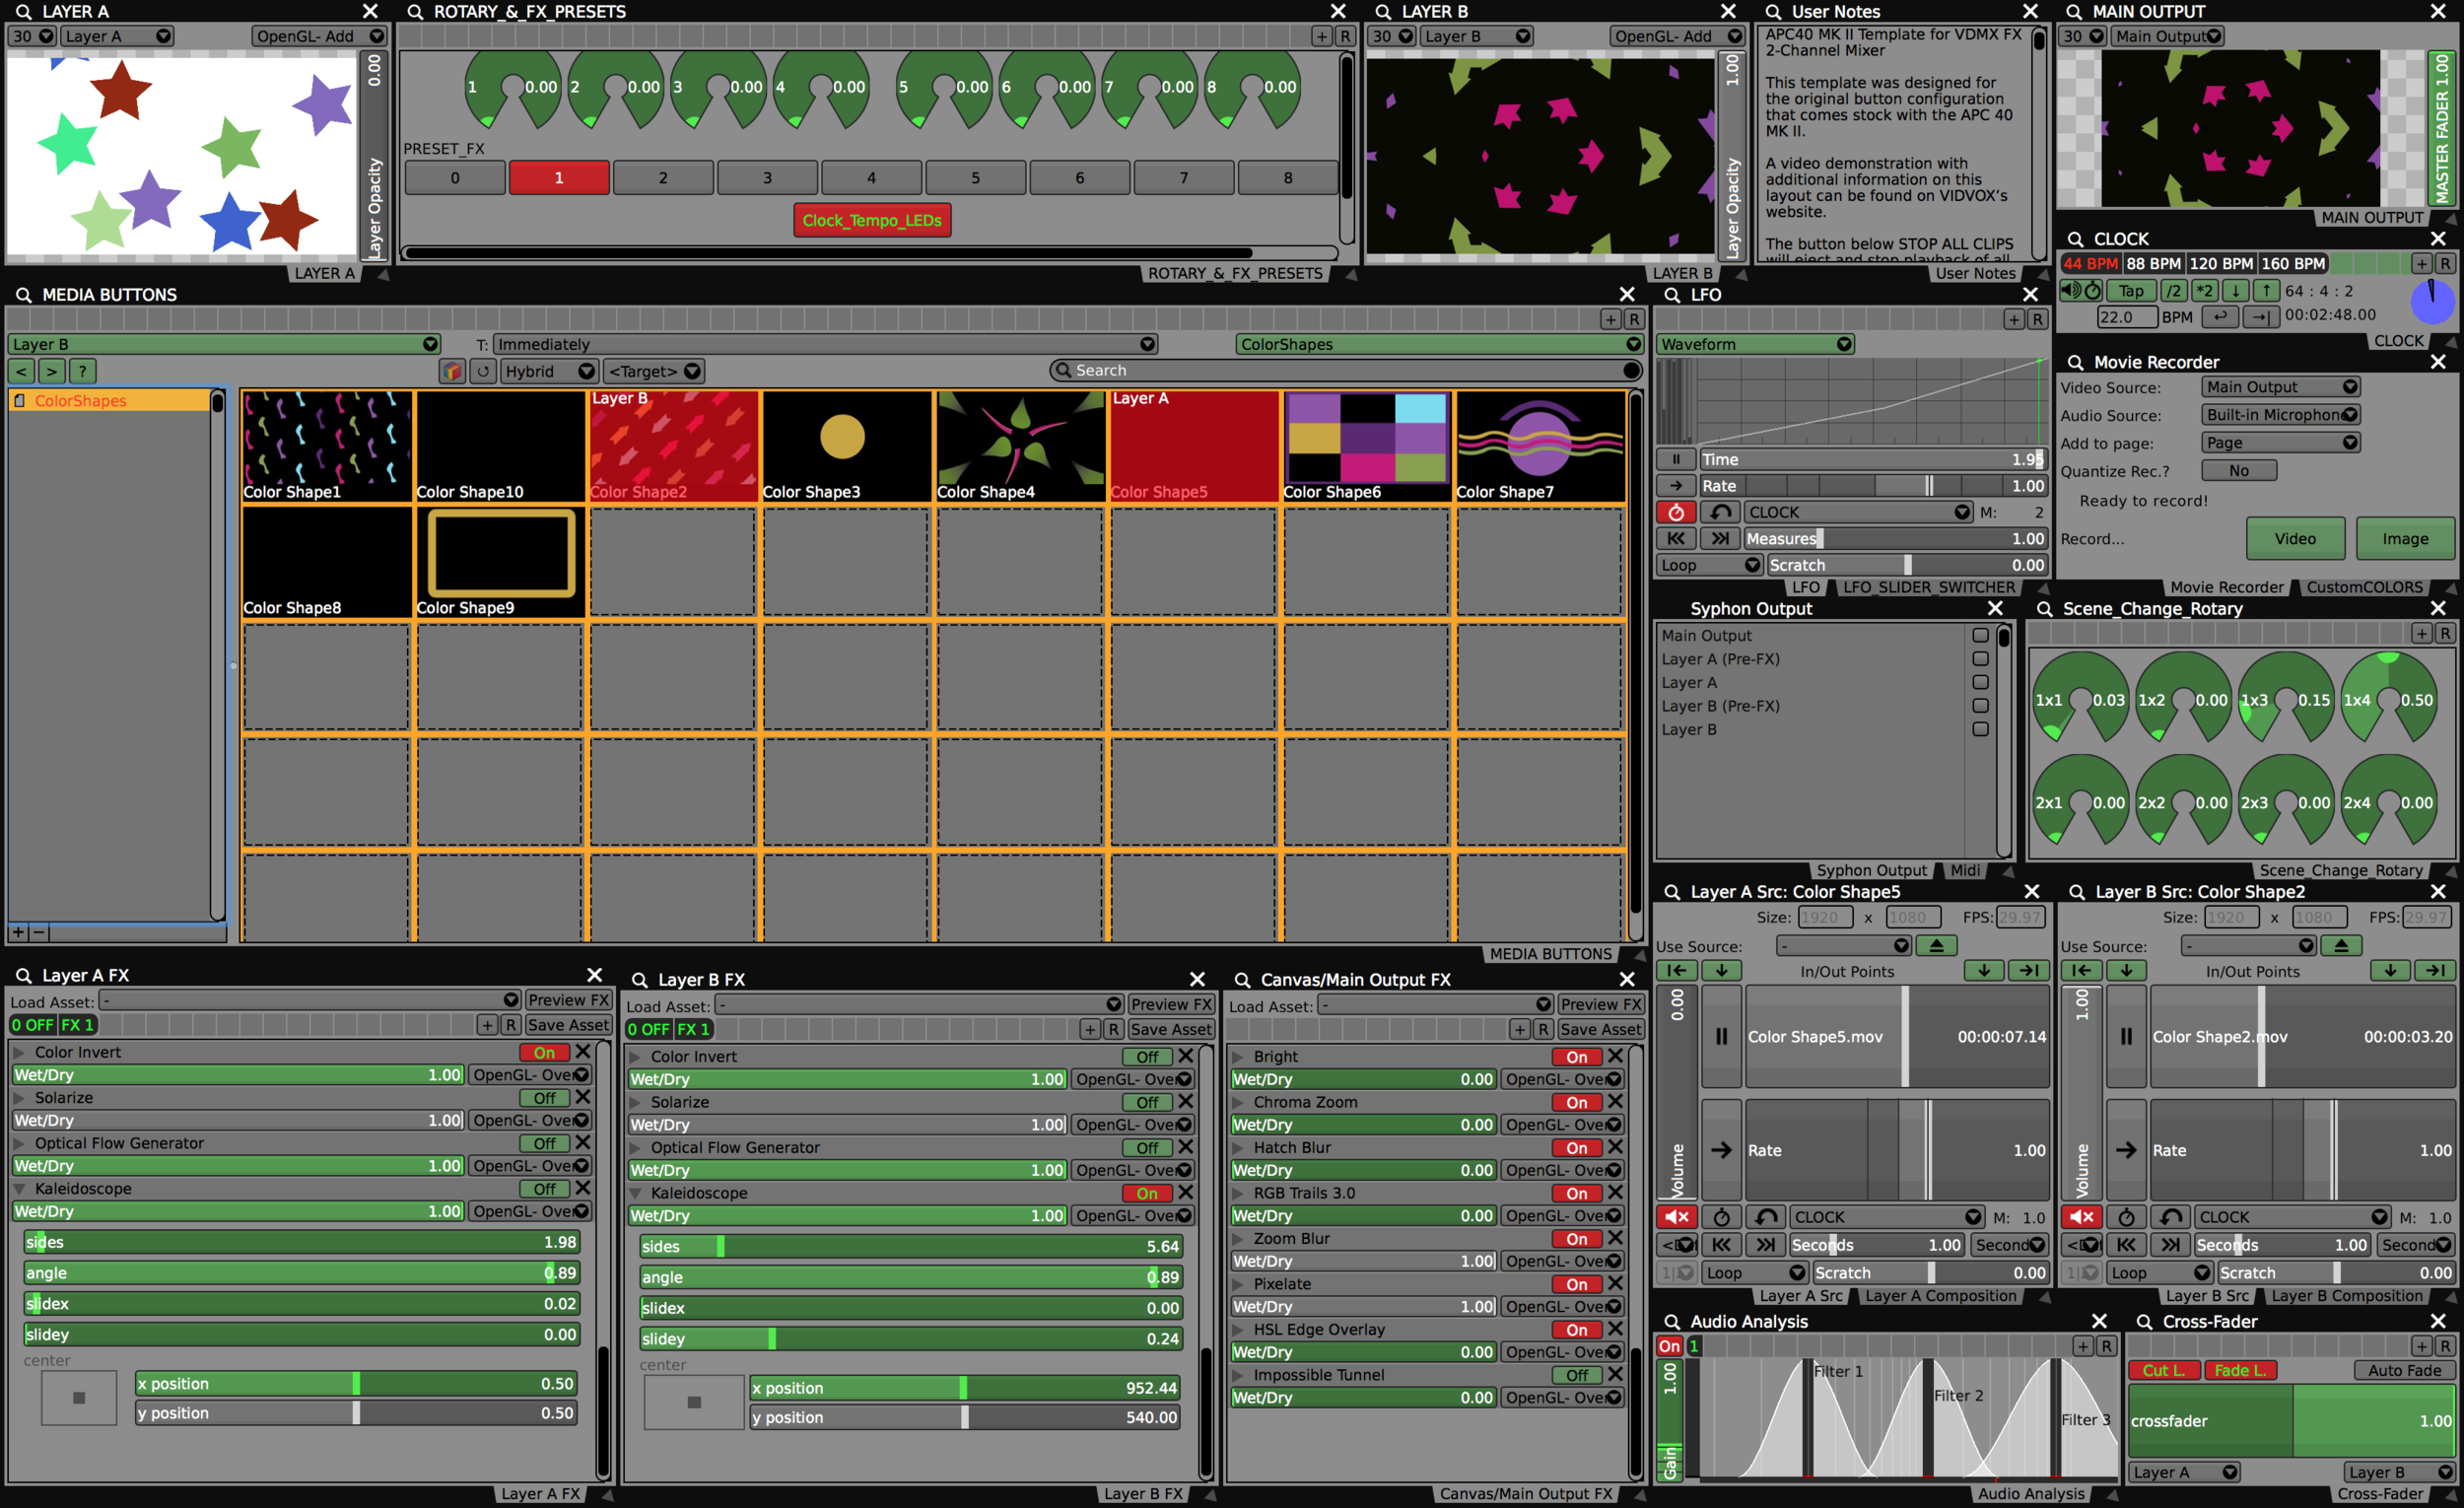
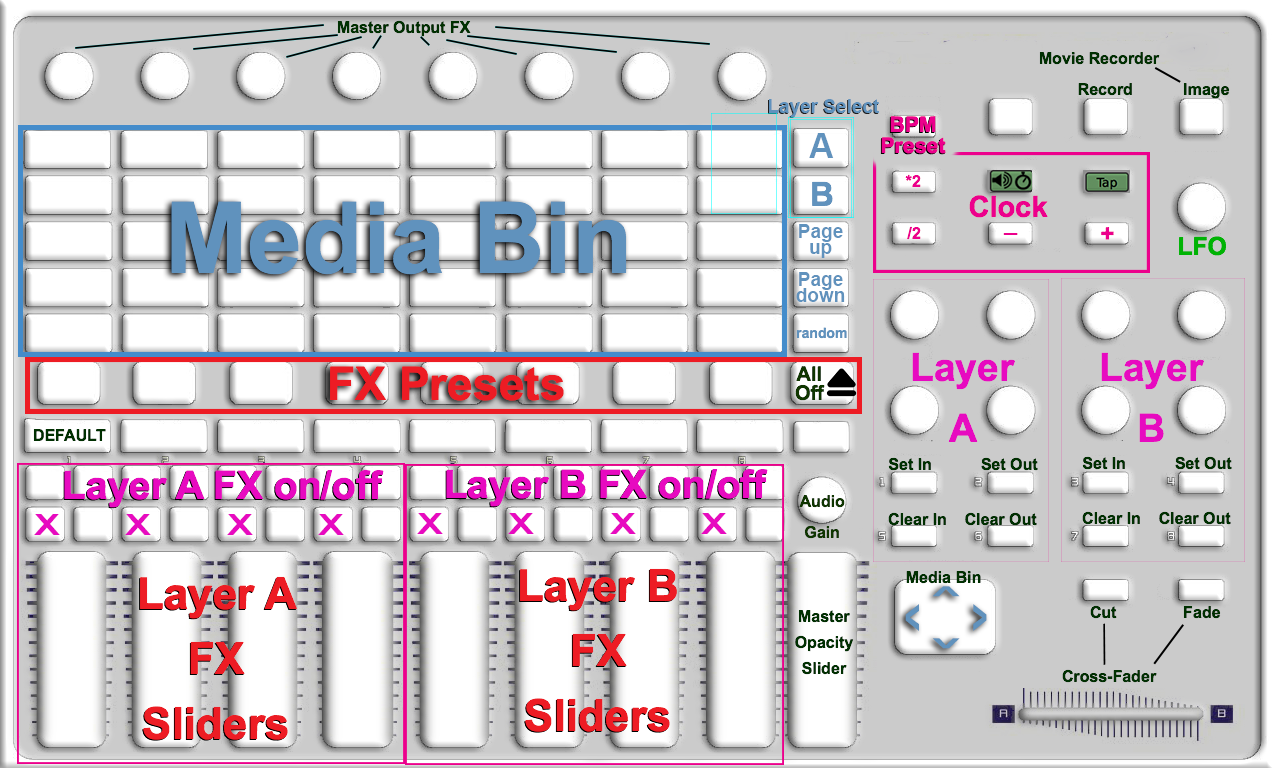
This template is structured to be a 2-channel video mixer. Both video layer A and B flow to a Master output (Projector, TV, etc.) The cross fader blends between both layers and each layer has its own FX chain presets.

The Master output FX are turned on and off by the top 8 rotary knobs. The first vertical slider on the right side of the controller labeled “MASTER” controls the master opacity. If it is all the way down, your screen output will be black. You can change this later to preference or disable it entirely.

Selecting clips for both layers A and B:

Both layers use the same 40 RGB button grid to trigger clips. To switch between Layer A and B, when selecting clips — use the first two buttons on the top right side of the grid under the label “SCENE LAUNCH” They will light up when they are selected. Top goes sets destination for Layer A, bottom for Layer B. The two buttons beneath that (Green) are page up / page down buttons for moving through your media bin. They are also linked to your Audio Analysis Filter 3 and will flicker based on your computers mic peaking. Beneath that (Yellow) is a random clip trigger.

To trigger to the next clip in the media or move up and down the media bin, redirect your eyes to the “BANK SELECT” 4 button arrow keys.

The rest of the buttons should be self explanatory based on the image above, or you can read through the “User Notes” built into the template which explains all of this and more.


Template Tip!

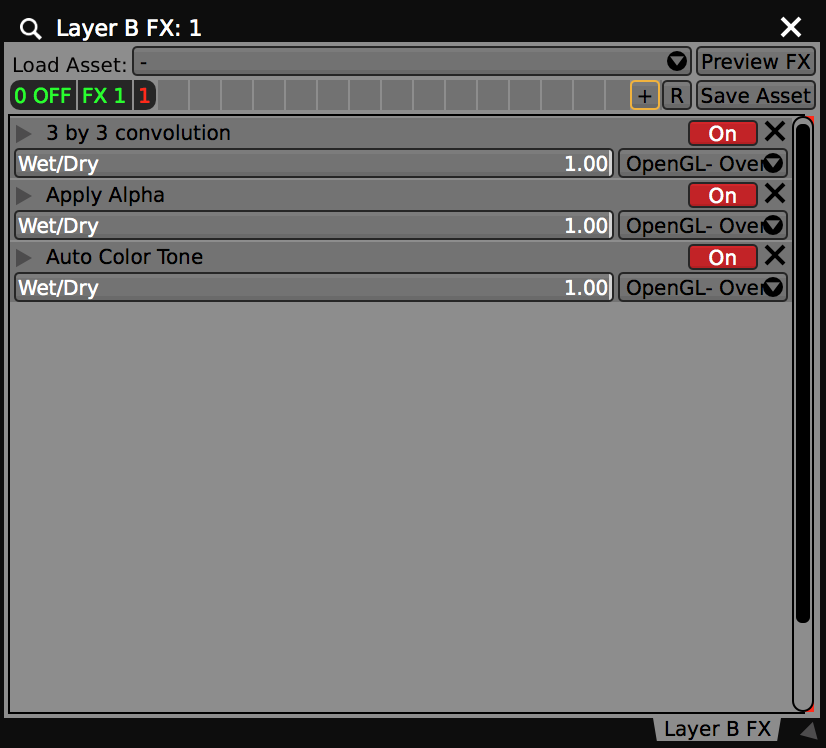
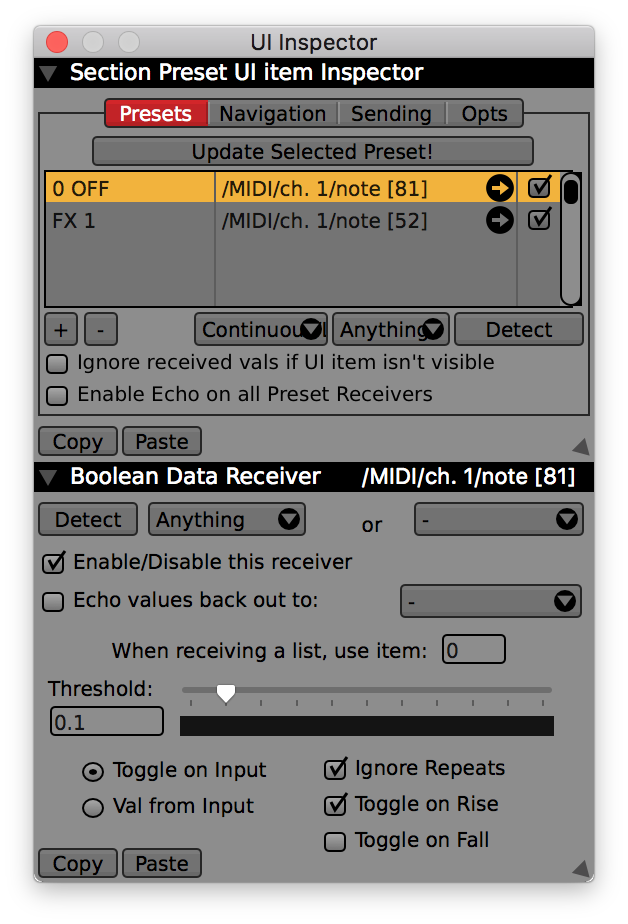
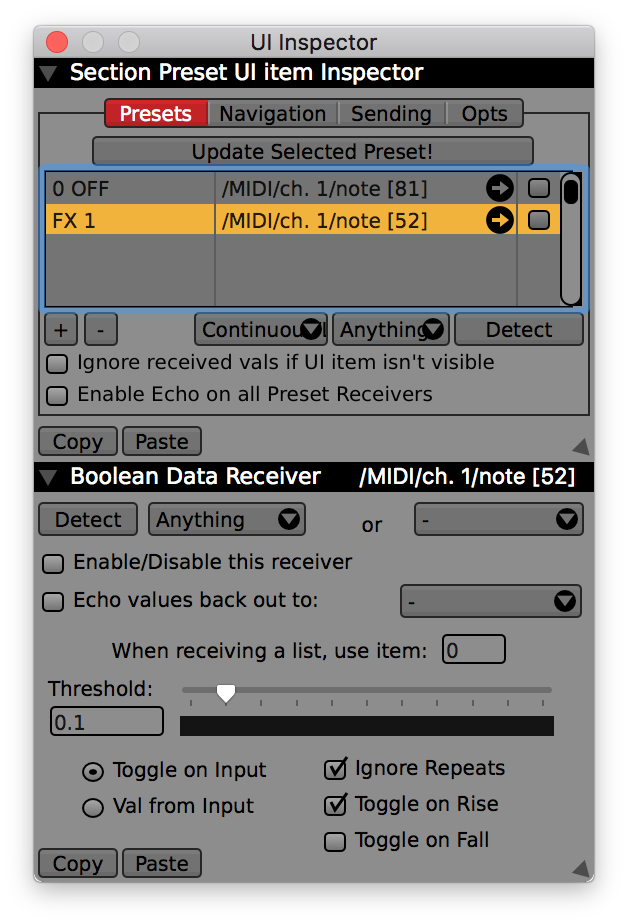
If you’re adding new FX to your A and B layer FX chains, make sure to save them as a preset by clicking the + in the top of the FX window. This will save your FX chain and you can assign it to a new FX preset button. You can always disable the FX layers MIDI triggers in your project until you build out the template more to your liking!


Here’s a brief overview video of this template: